First off, this is not a disc or disc golf related… but I got bored one day and had an idea
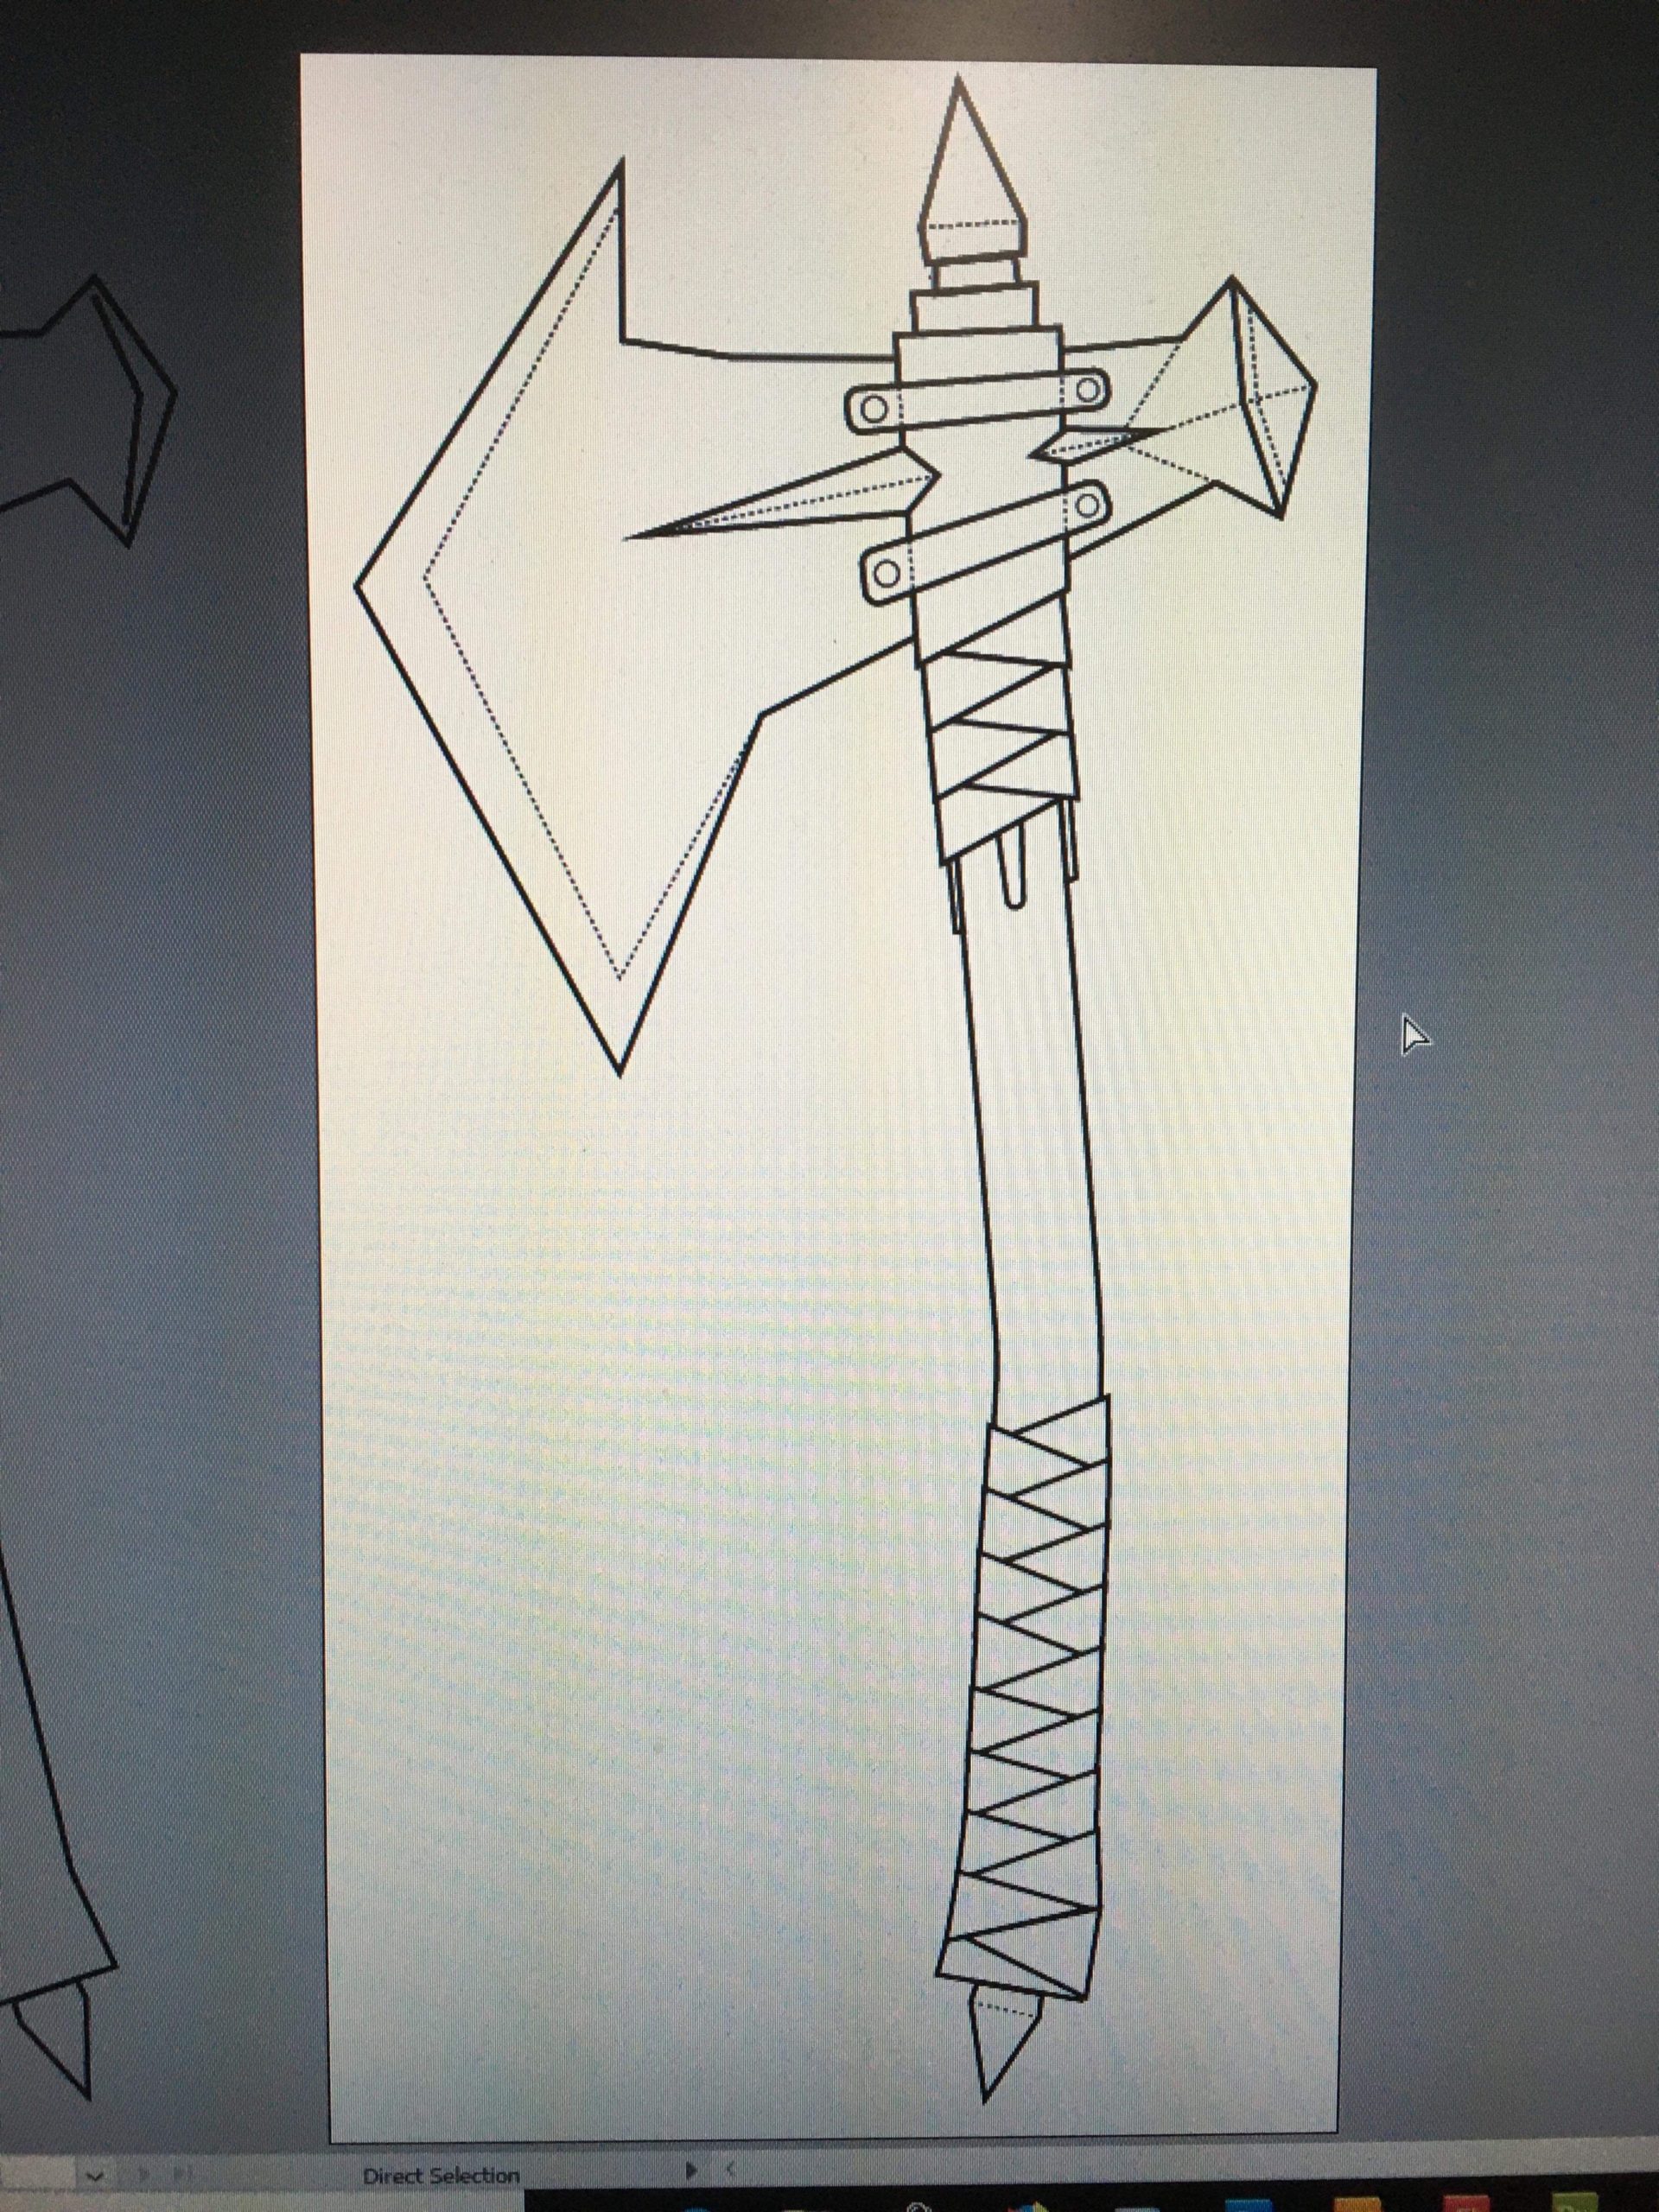
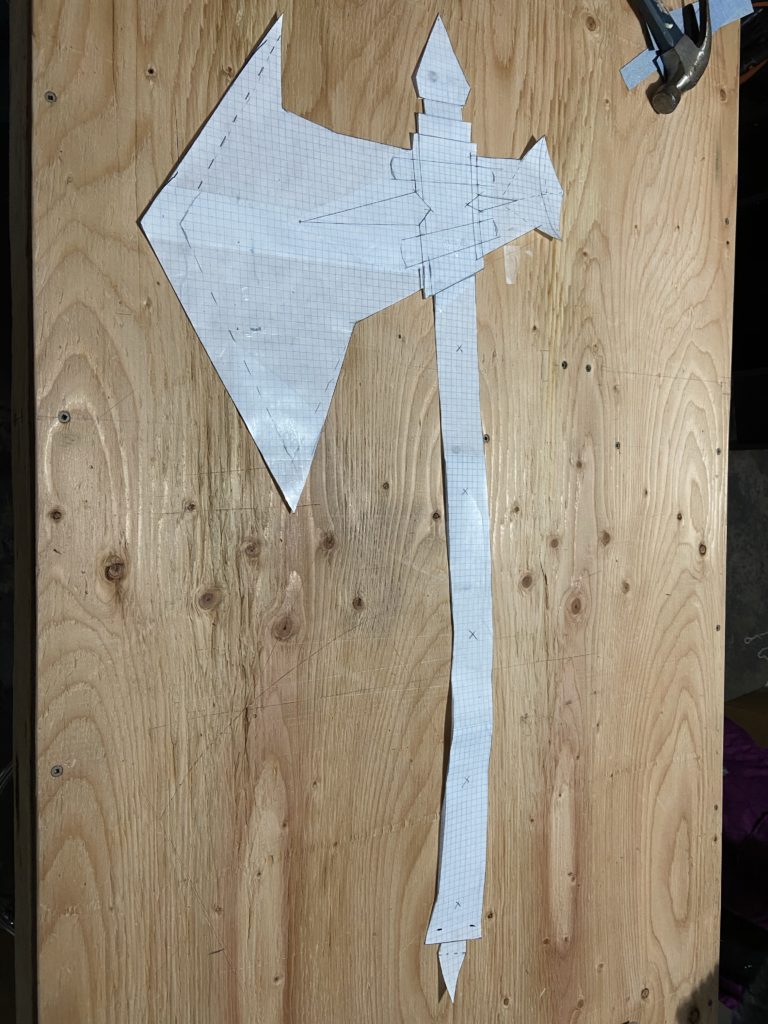
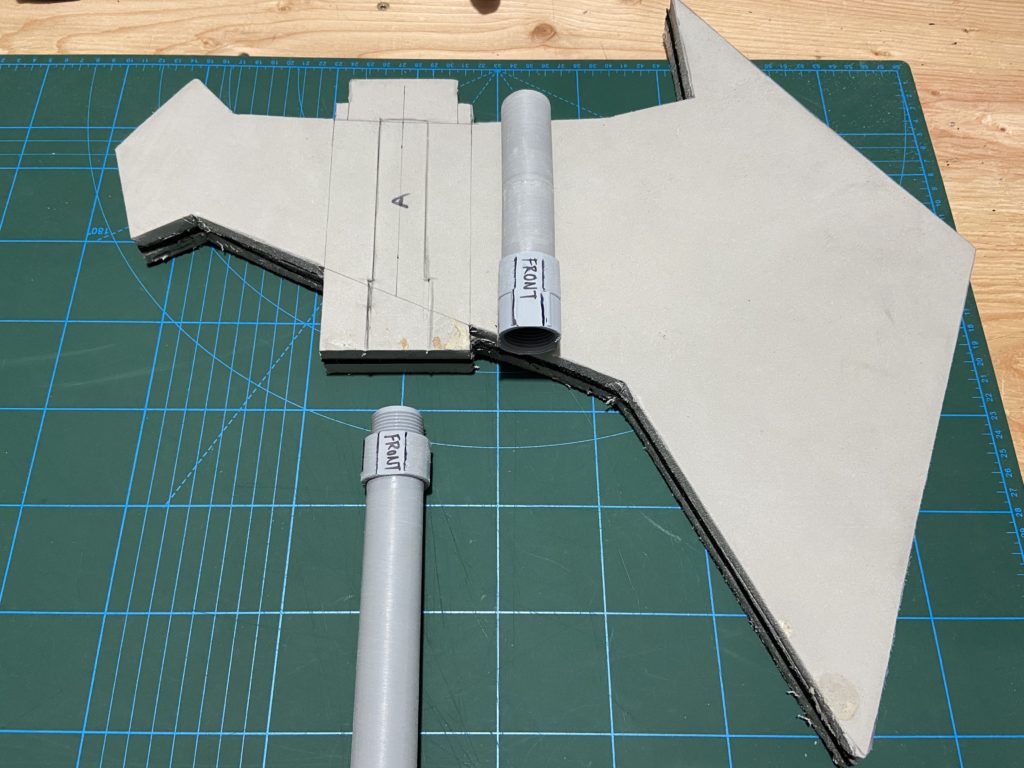
I decided to craft my weapon of choice, so I made a template.
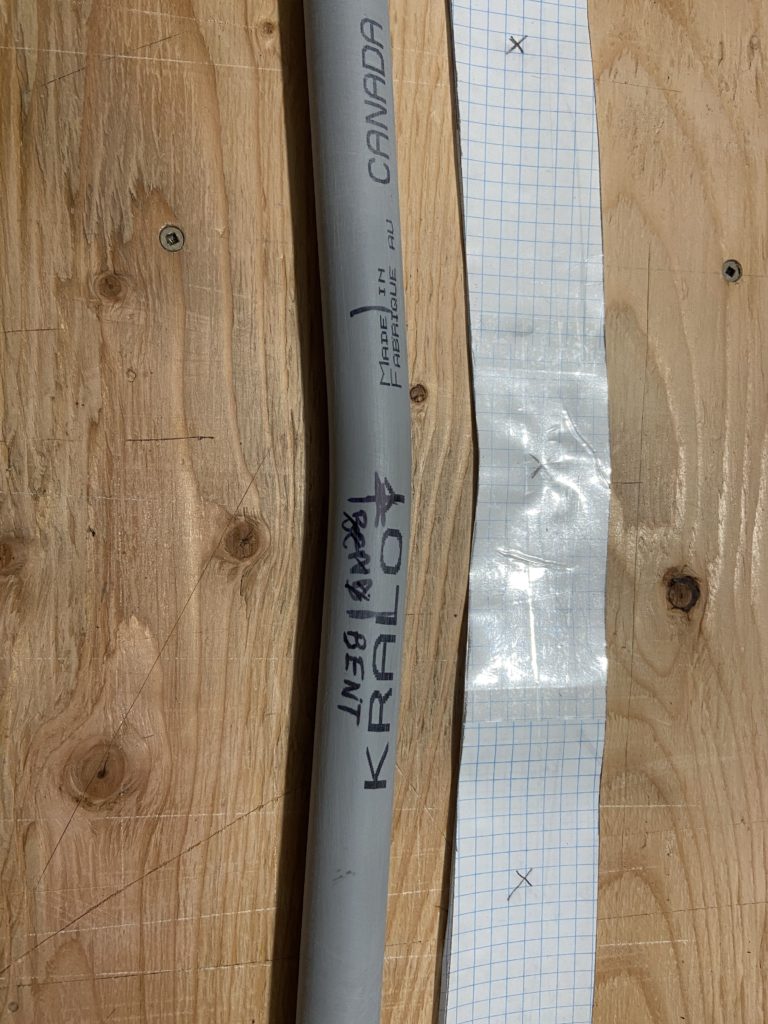
I then grabbed some 1” conduit pipe (with a threaded connector) for the handle.

… bent the handle to shape with a heat gun and some pressure…
… and layered up some EVA floor mats for the axe head (after sanding the texture off).
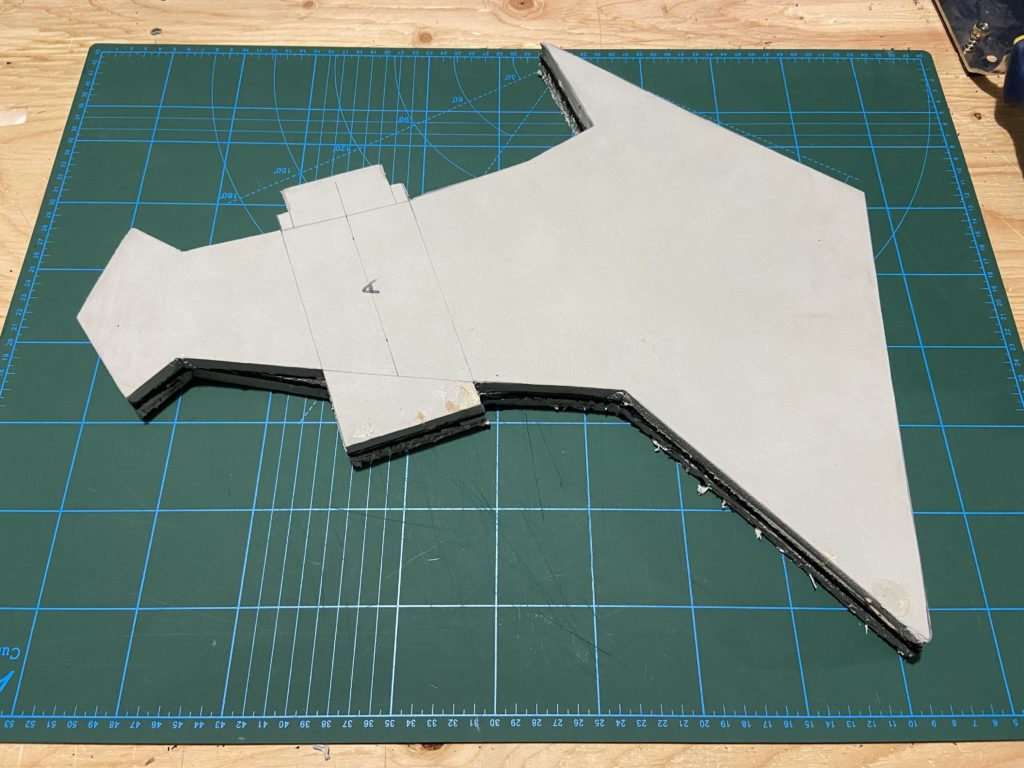
fyi contact cement holds a lot better if you sand the textured side. Yes, I did this step twice because I got a case of the dumb and forget the first time. After I had the axe head, it was time to connect the pieces together.
I sanded the sides of the pipe connector before gluing it in, to help orient the handles angle correctly. After cutting out the recessed area, I glued on cover plates and bulked up the butt end of the axe head.
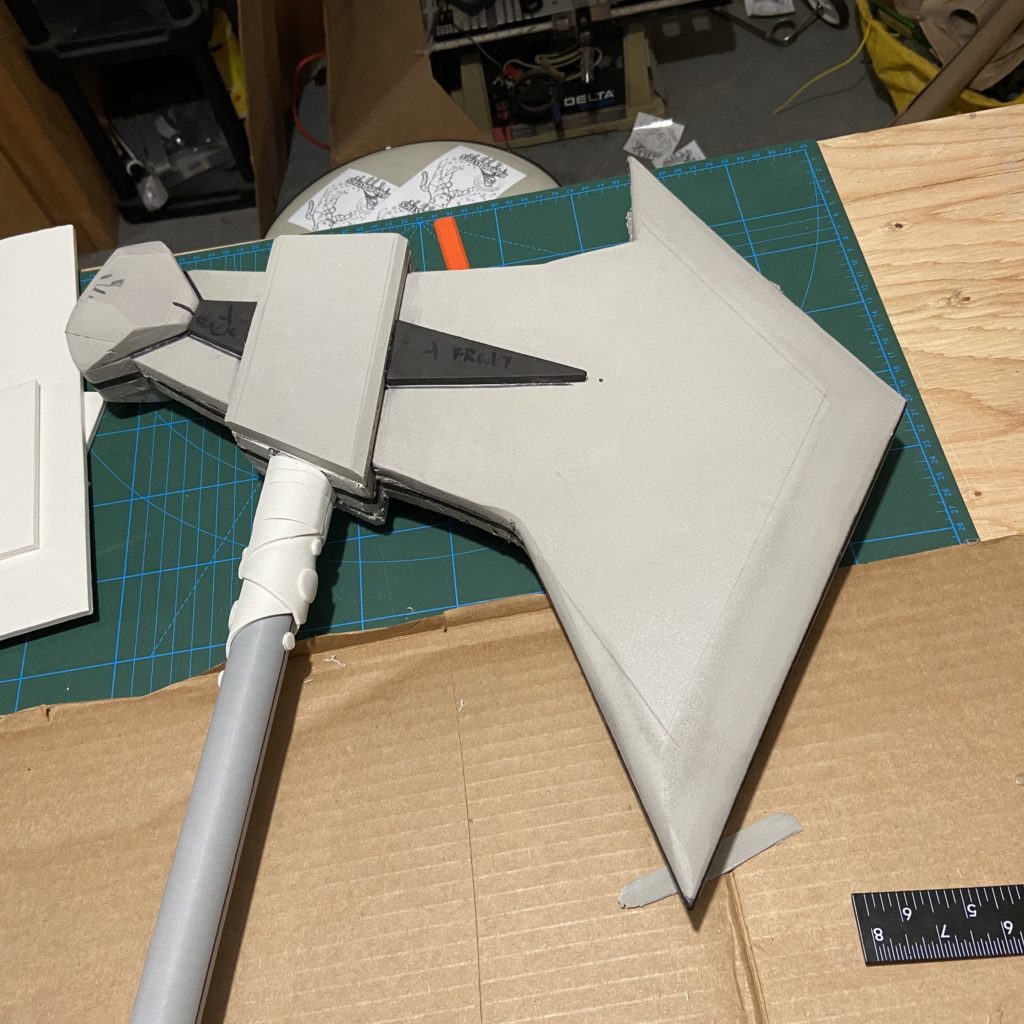
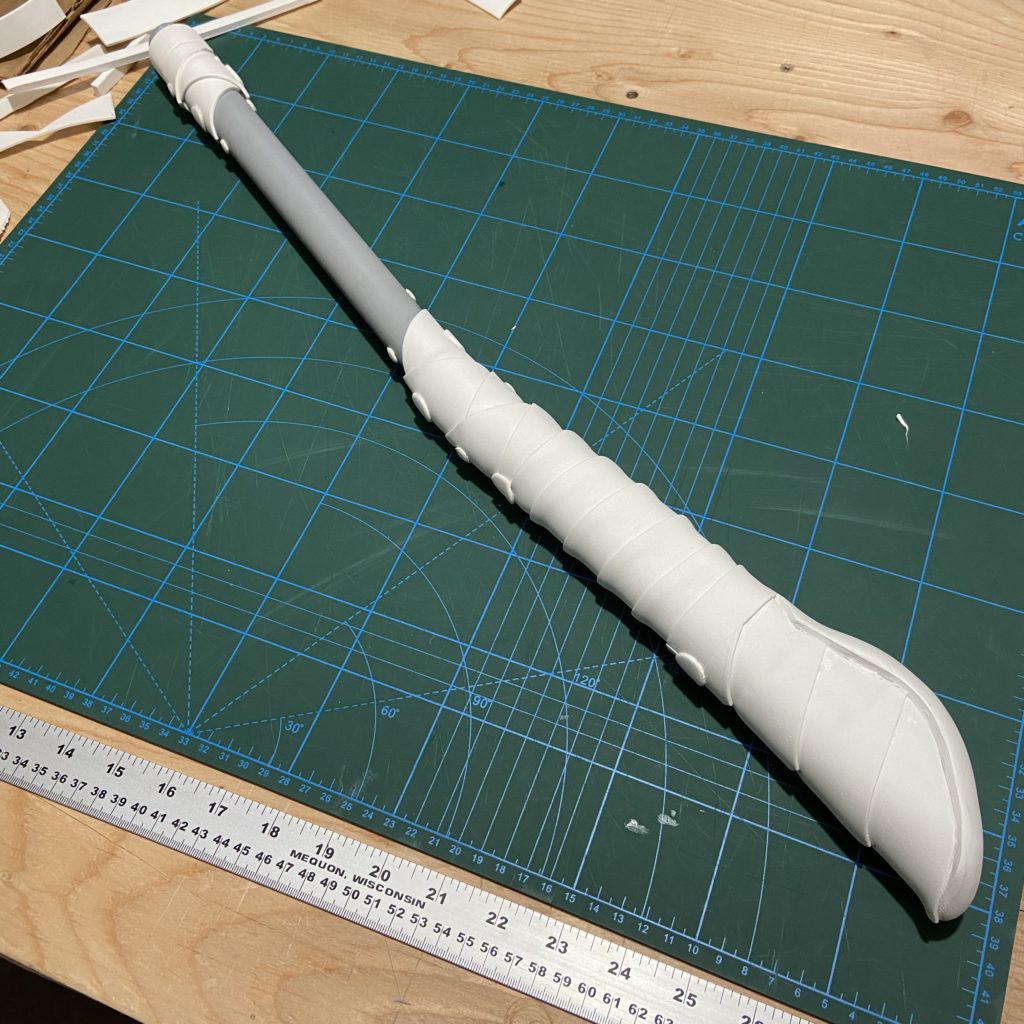
At first I used sanding sticks to shape parts of the blade, made from paint sticks with various grits of paper glued on, but ultimately I used a table top belt sander to define the blade edges. I also started to wrap the handle in pieces of 2mm EVA foam to create details.
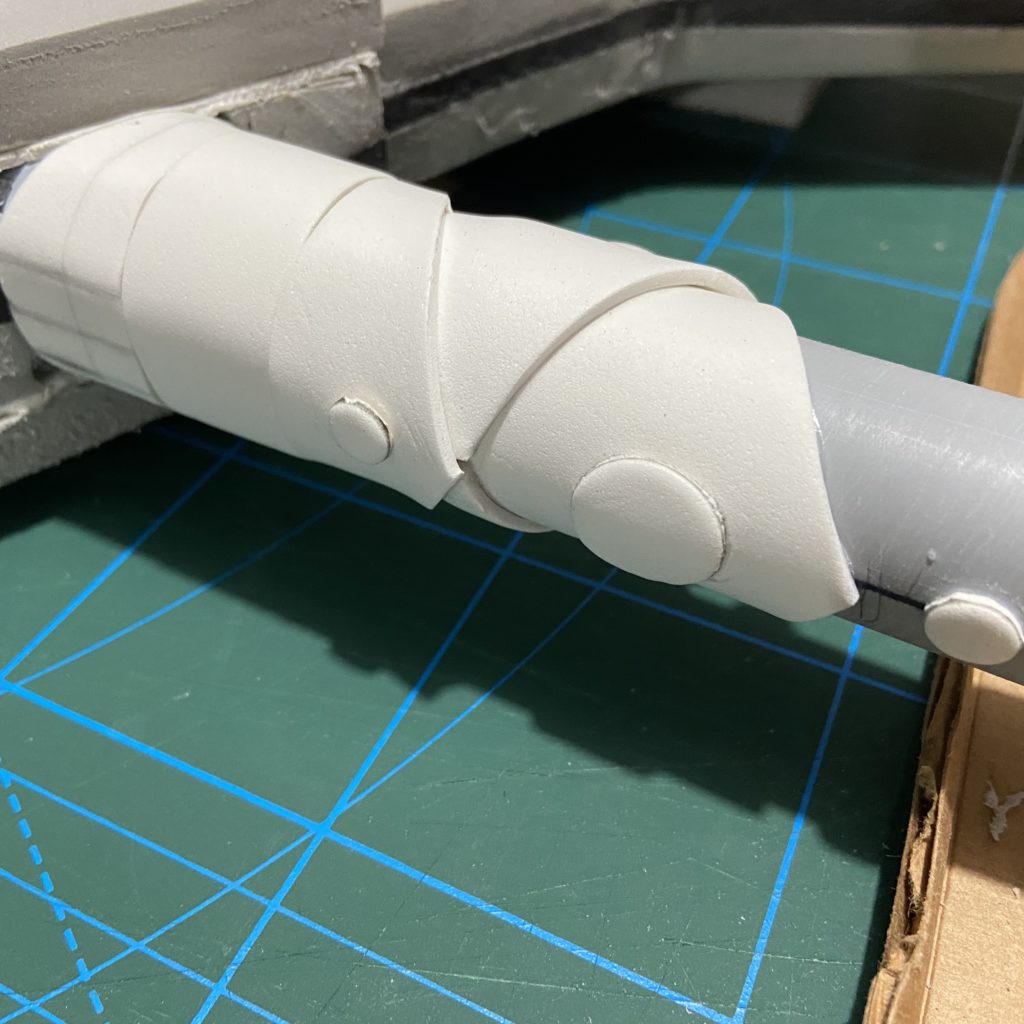
I used layers of foam to shape and create the bulk of the handle, which was wrapped in a layer of 2mm foam.
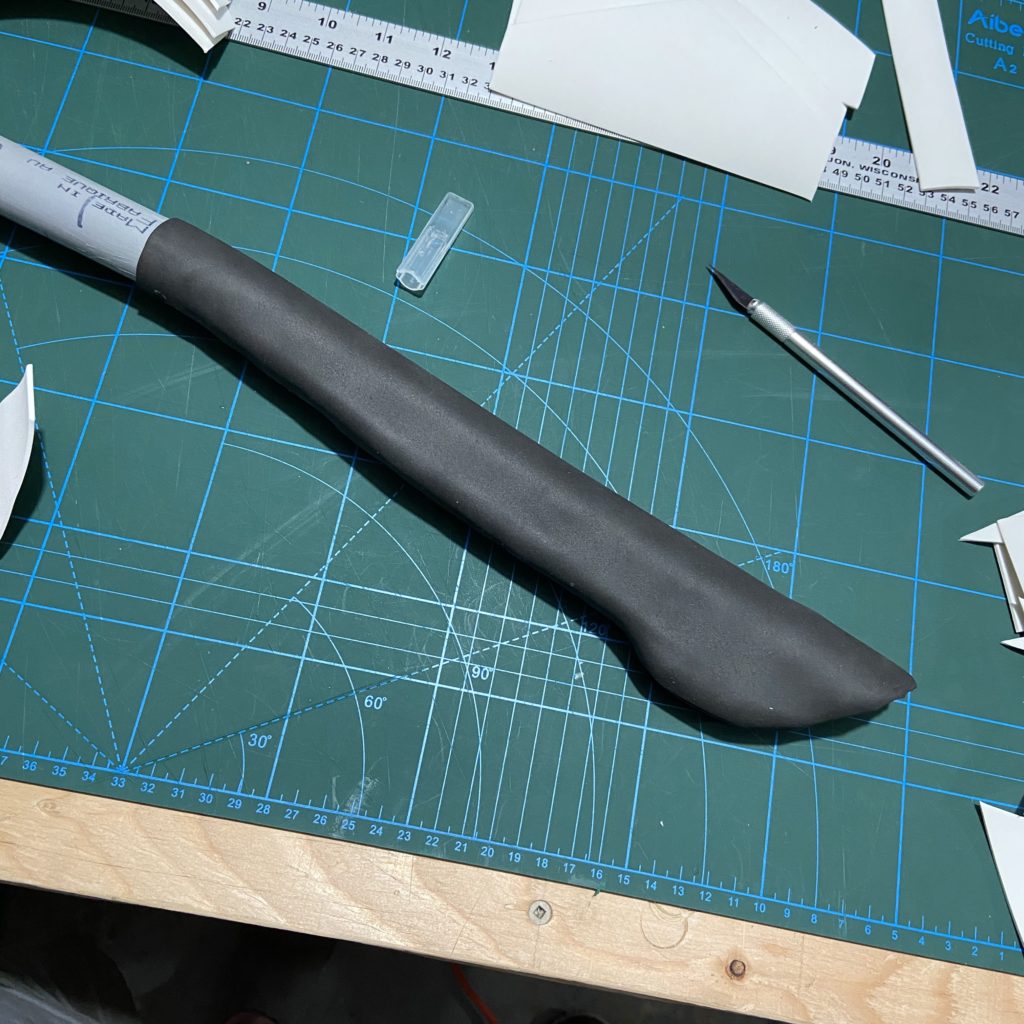
I then glued on additional detail pieces to the bottom of the handle (hide the crimes!).
For just foam and plastic pipe, it wasn’t looking too bad so far.
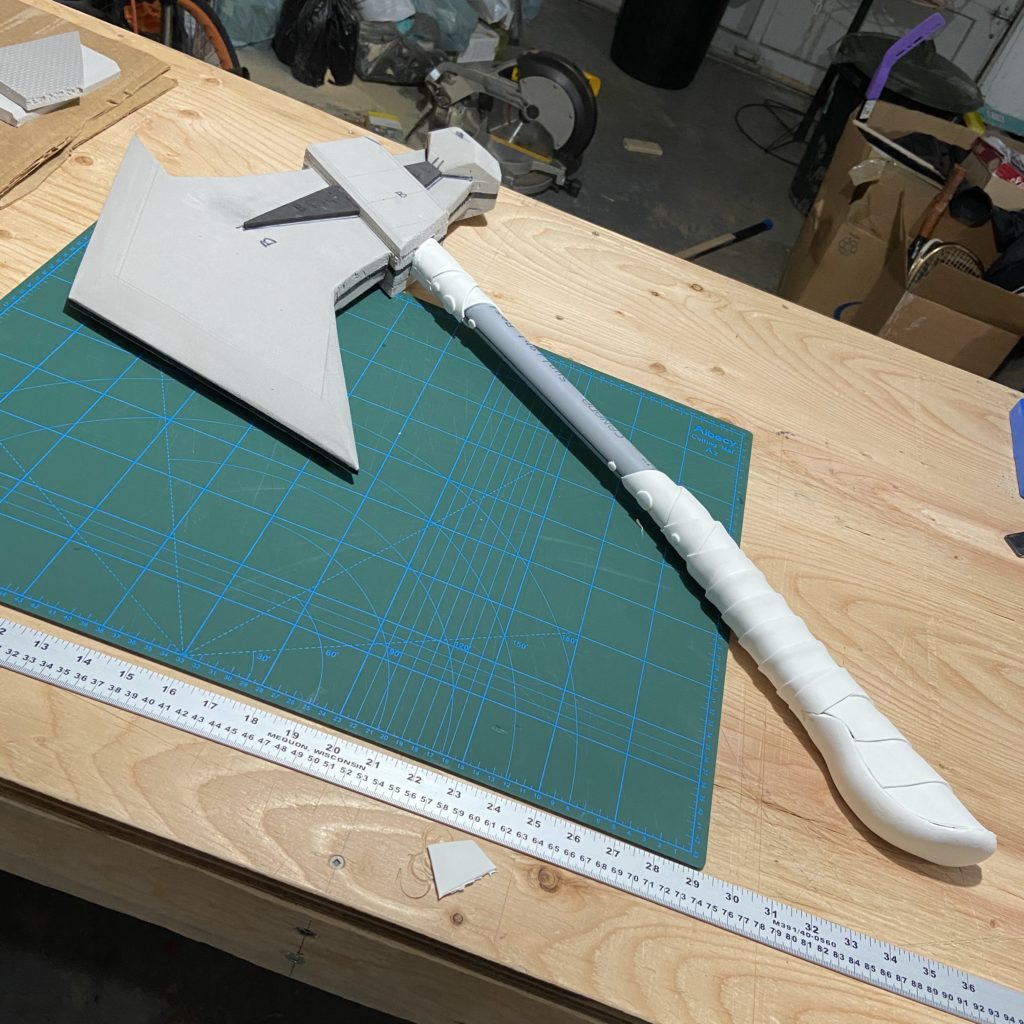
Except for that stupid axe head butt… it just wasn’t sitting right.

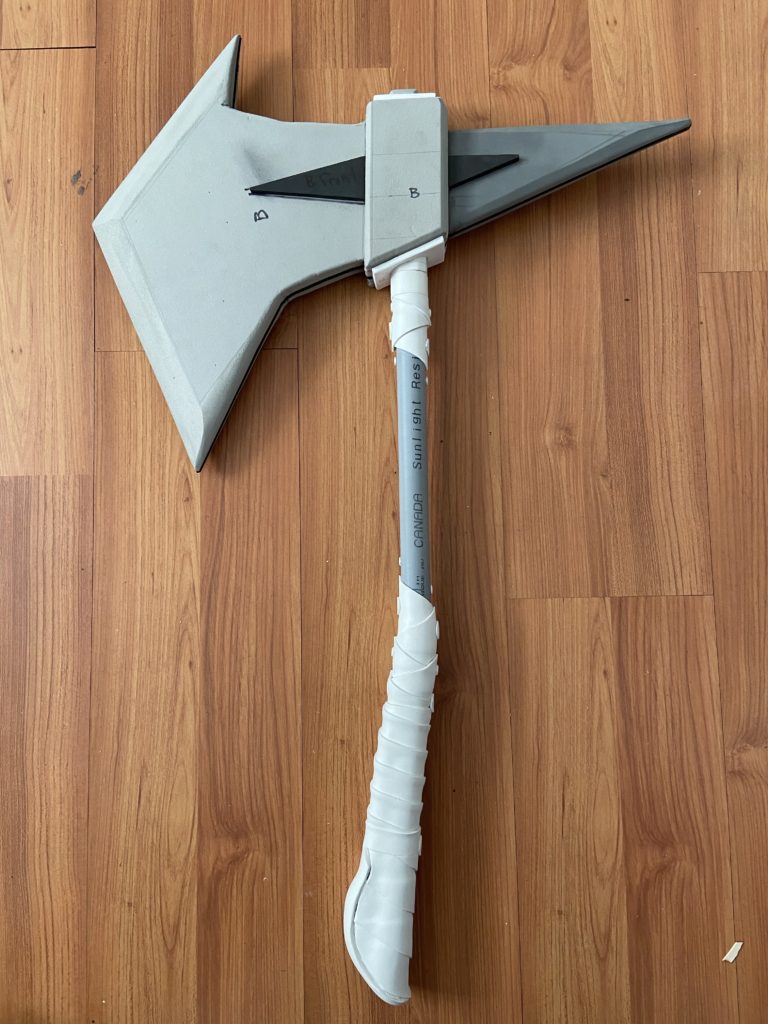
So I decided to go more spikey stabby with the backend.
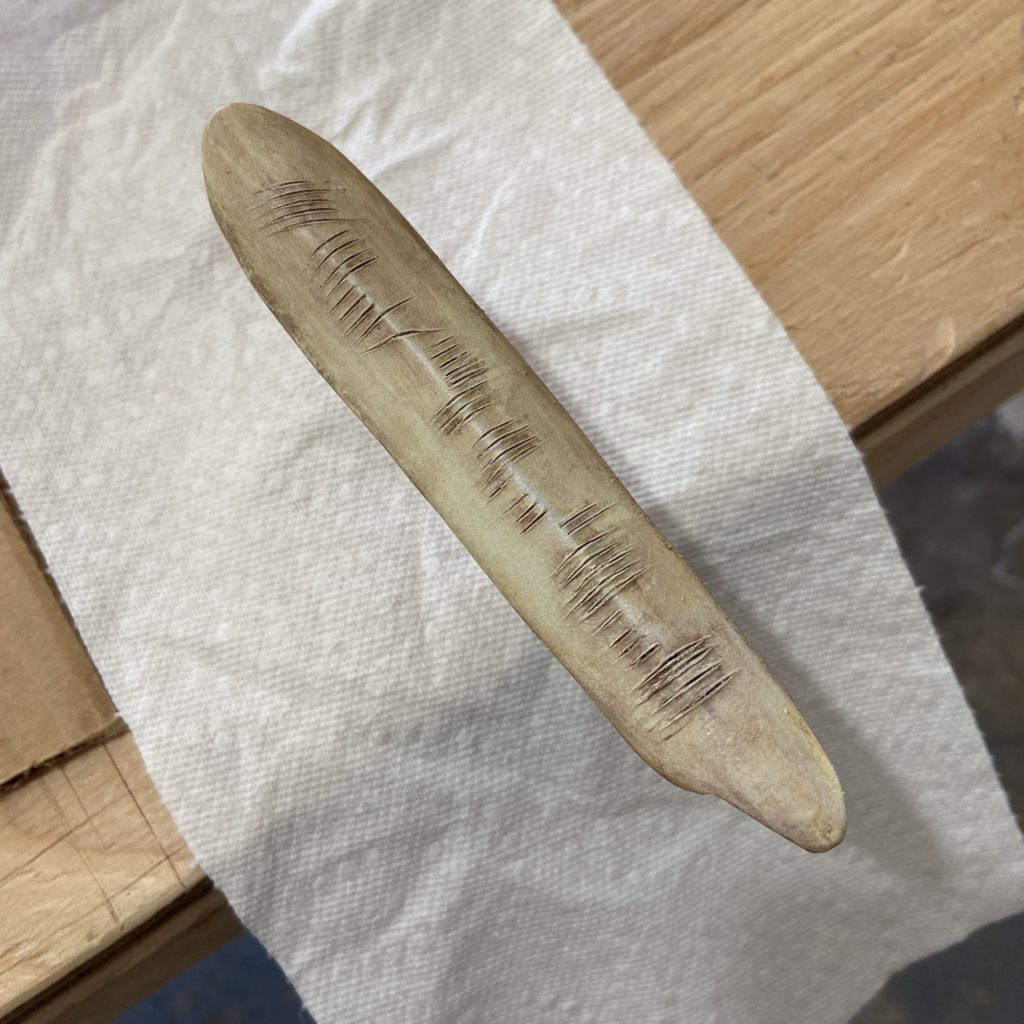
At this point, the name ‘Ethyl’ came to me in a fever dream… all great weapons have names… so I created a piece to carry the name of ‘Ethyl the Unmaker’.
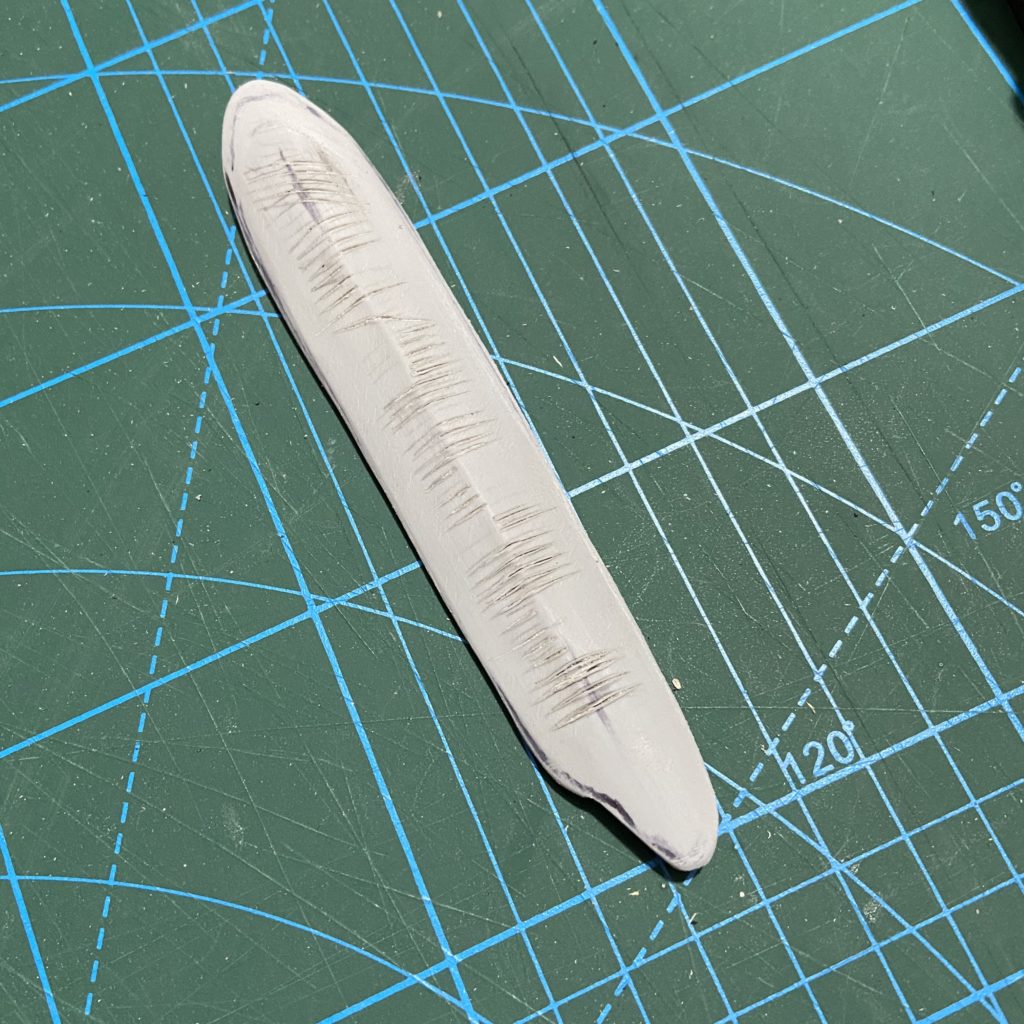
I etched in some Ogham letters after shaping a spare scrap of plastic pipe and shaping it to look like a remnant of a femur.
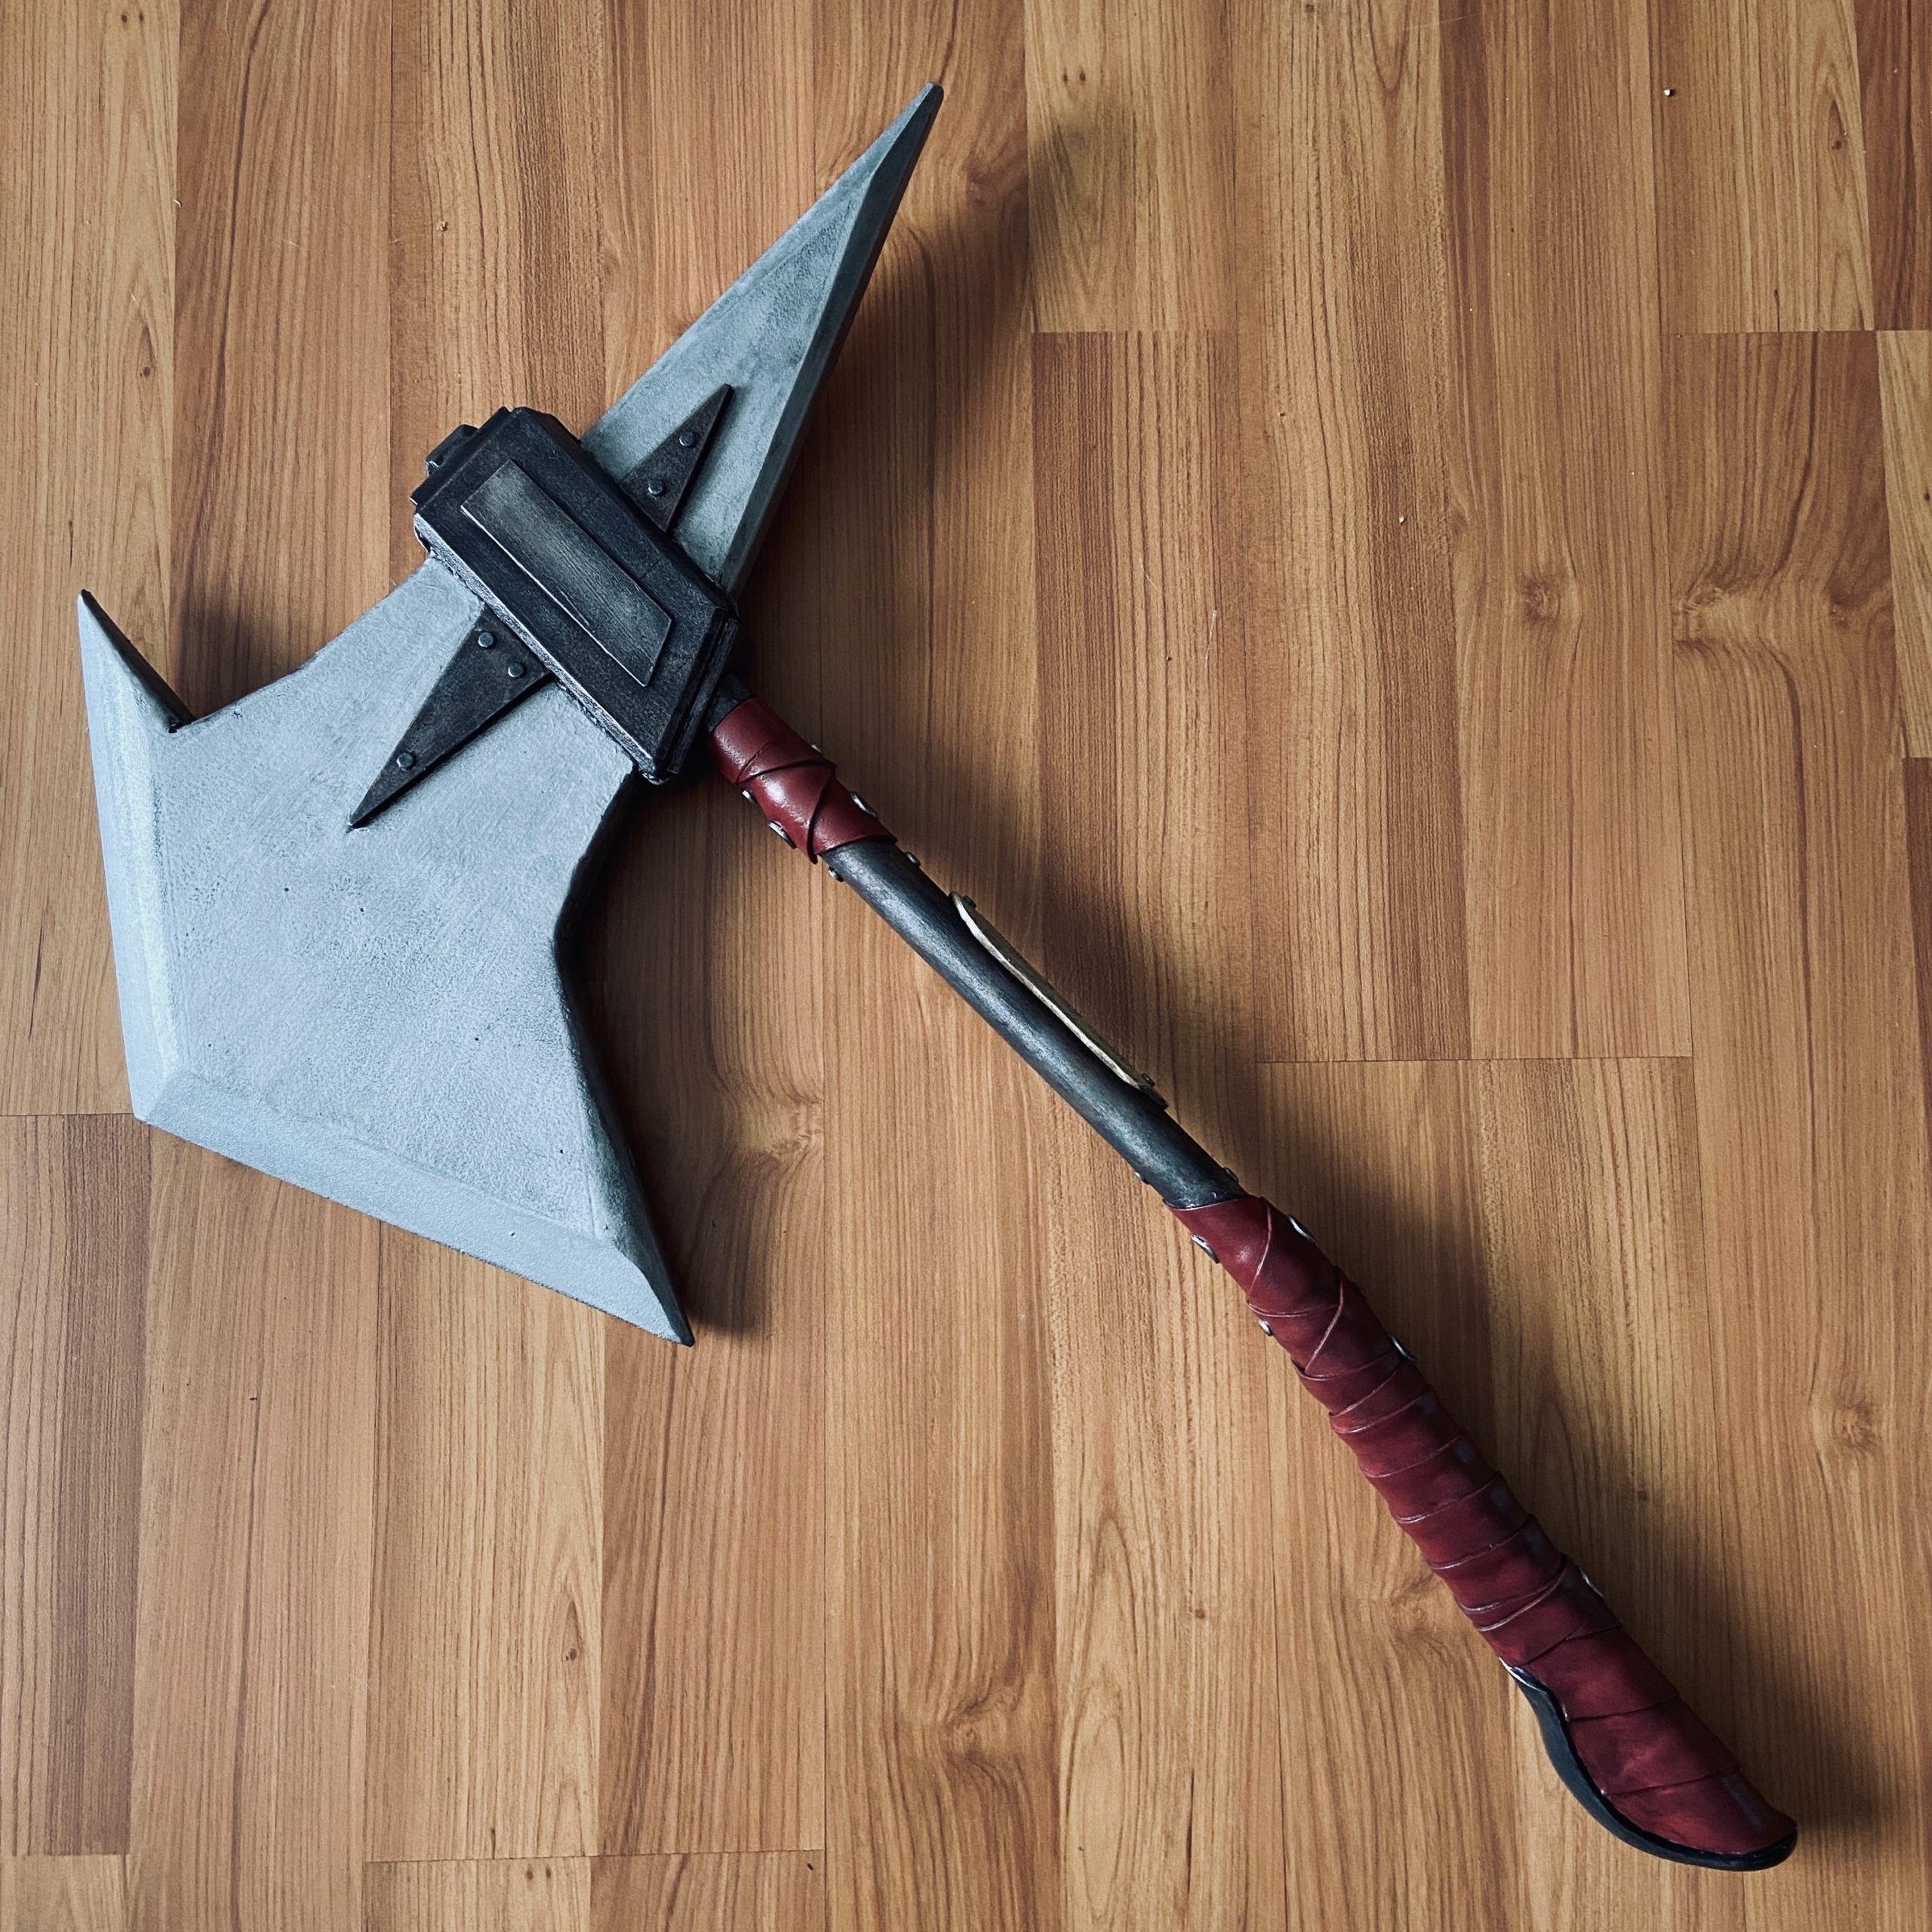
Now that the bone shard was painted, I ran some color tests in Procreate and started to paint the axe handle. A bit of oxblood leather, steel and a wrought iron inspired handle and block started to come together.
I used three different custom mixed red layers of acrylic paint (cheap ass dollar store paint!!!).

I also did about 4 layers of black wash to age and weather and 3 different metallic paints to create my weathered ‘wrought iron’
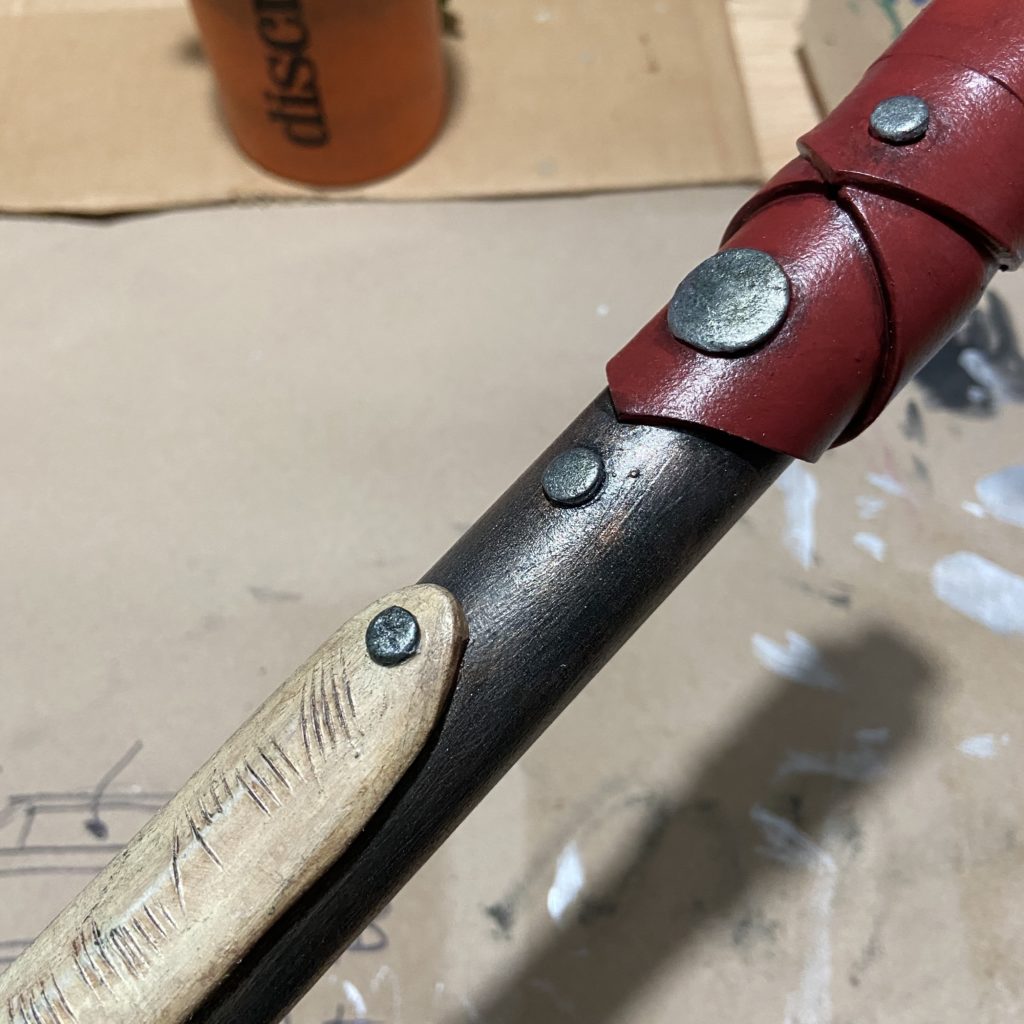
After attaching the name plate, 4 layers of satin finish was applied to the handle and plate.
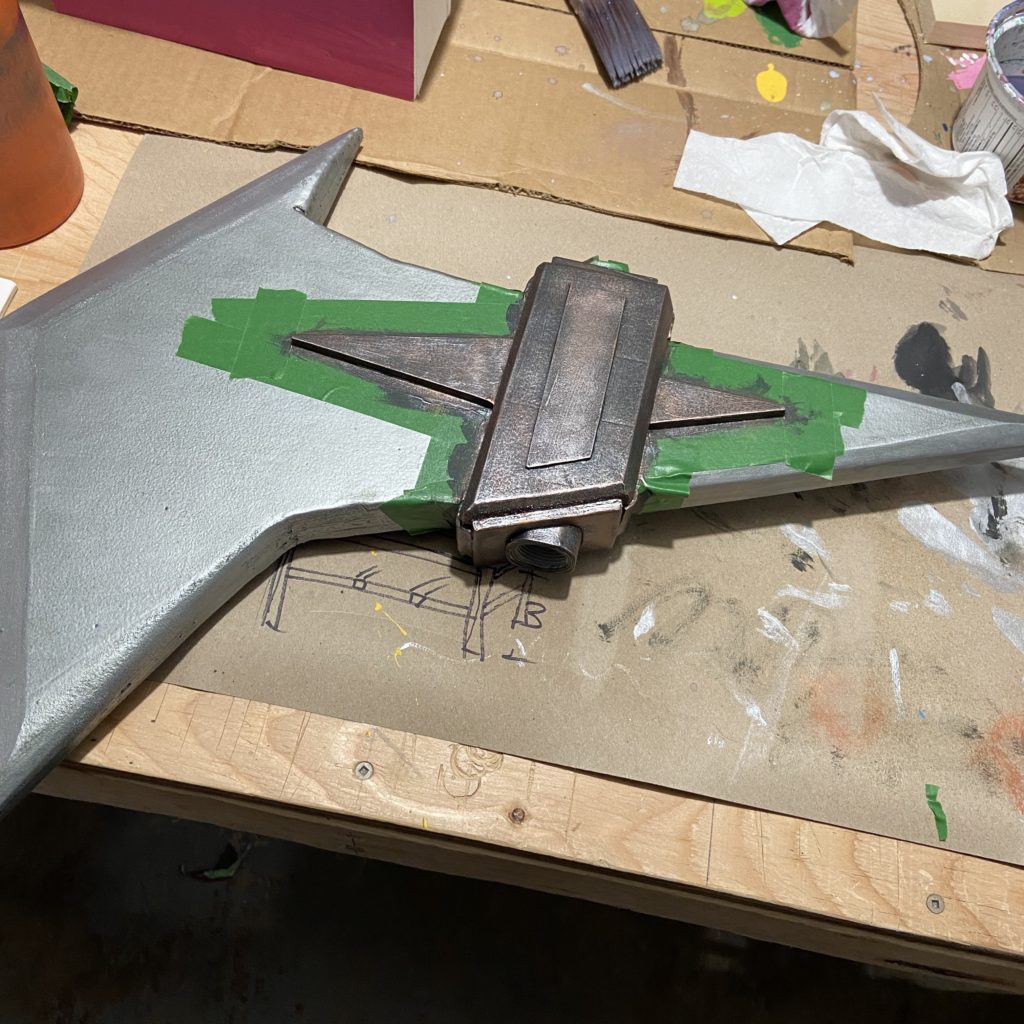
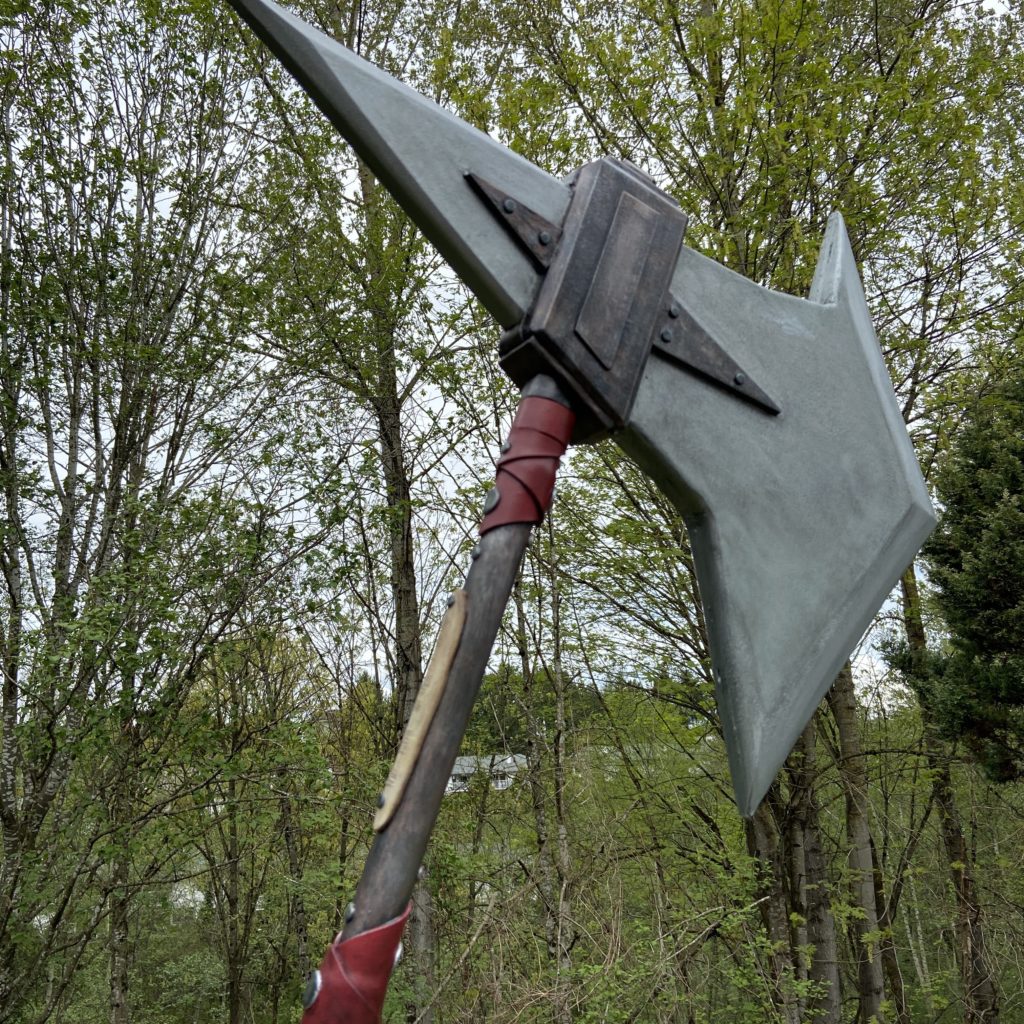
The ‘block’ of the blade was given the same wrought iron treatment before I black washed the blades and block. I may have had some issues with my tape being too tacky, but one lesson learned was don’t rush and use better acrylic paints.
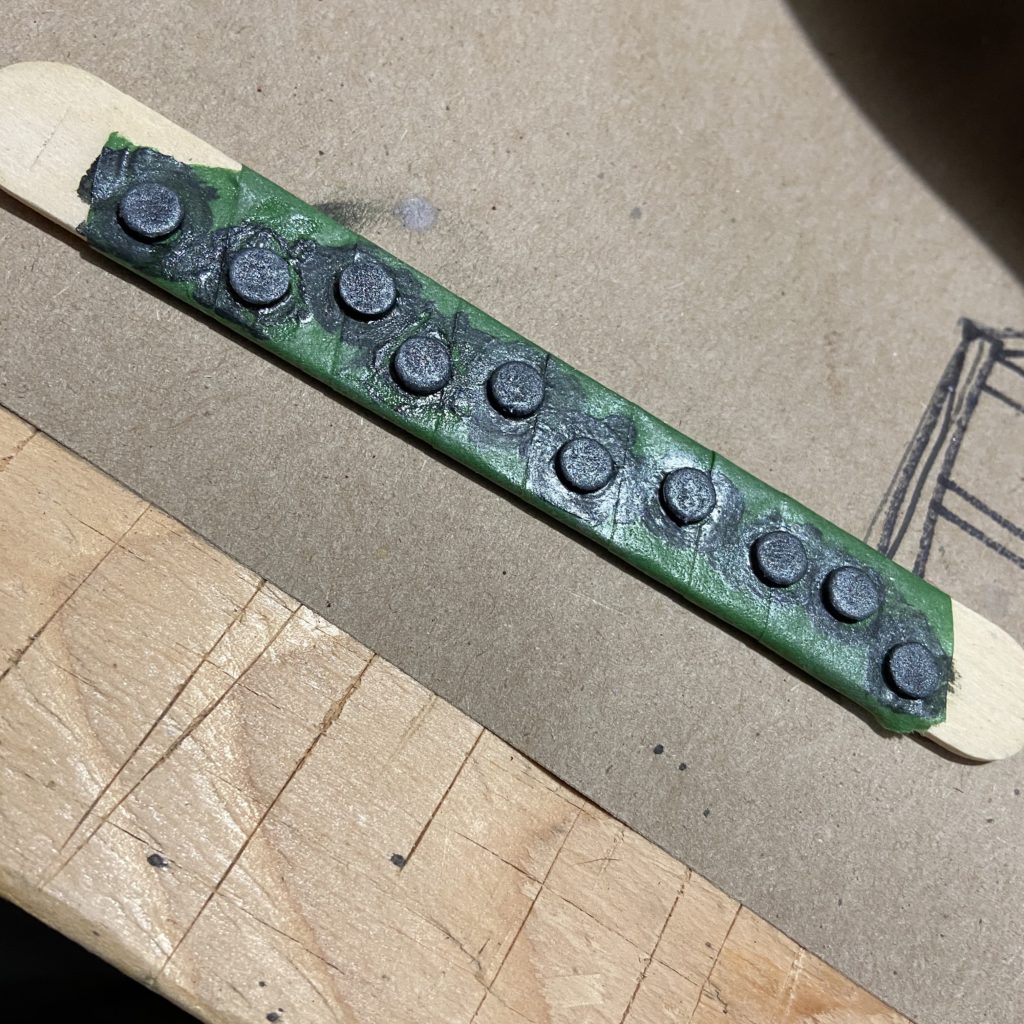
Using some 2mm foam, I created some rivets for the axe blade mounts. Two sided tape wrapped inside out on a tongue depressor is more than handy for this tiny work.
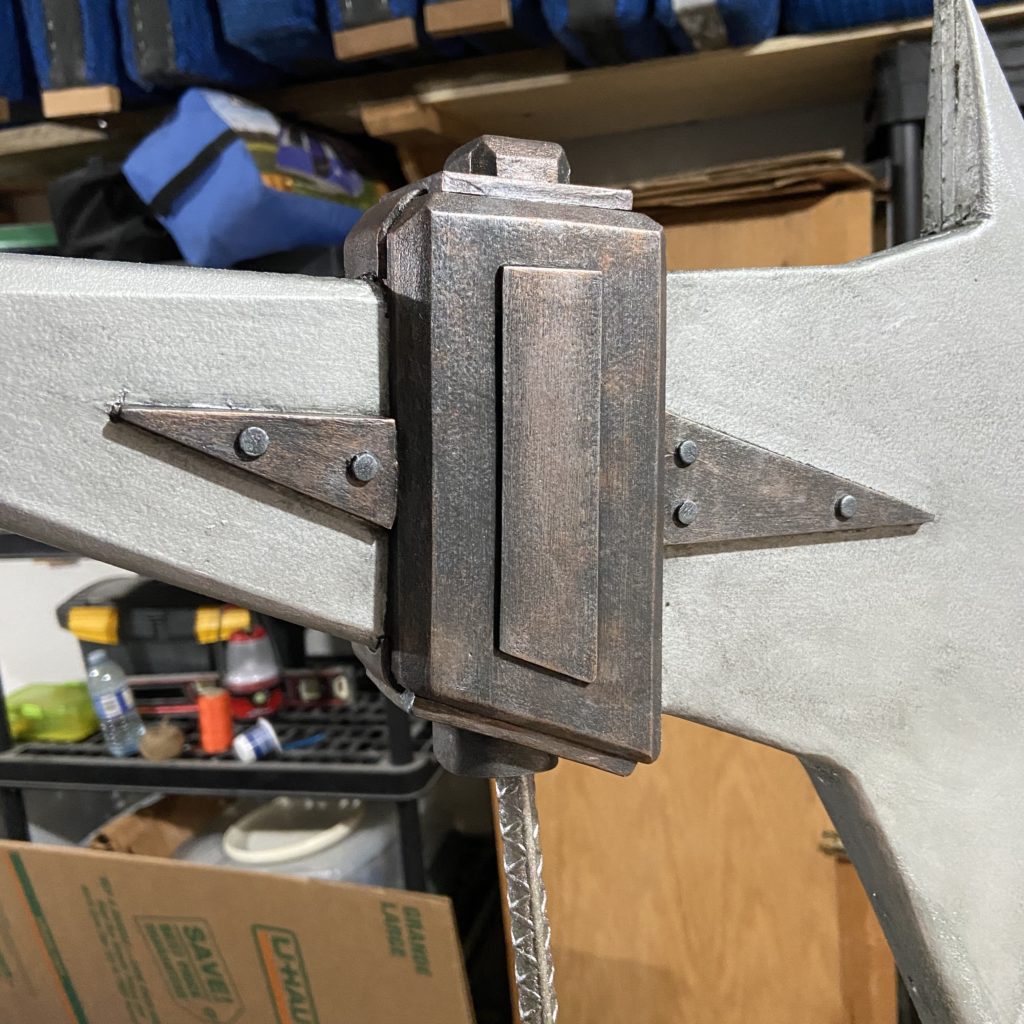
After applying the rivets, I added even more black wash and 4 layers of satin finish…. and then…
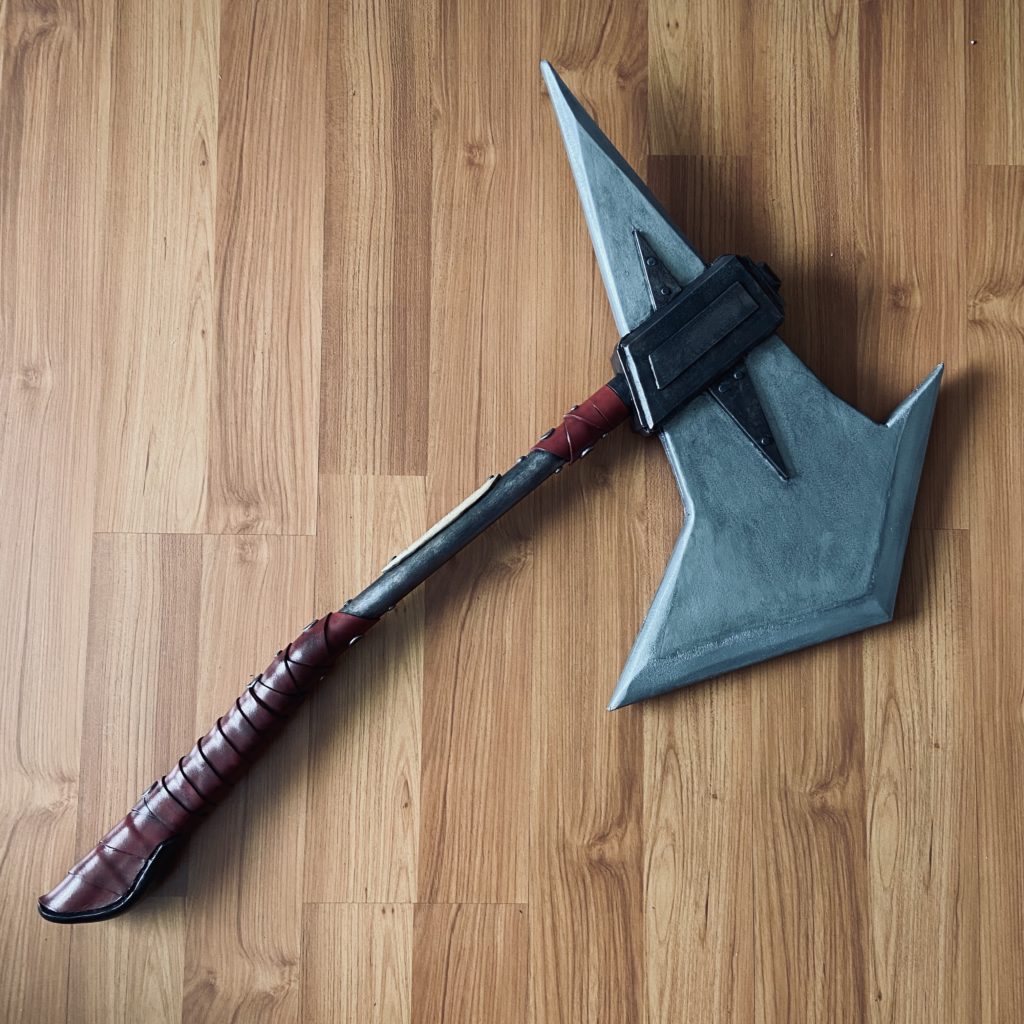
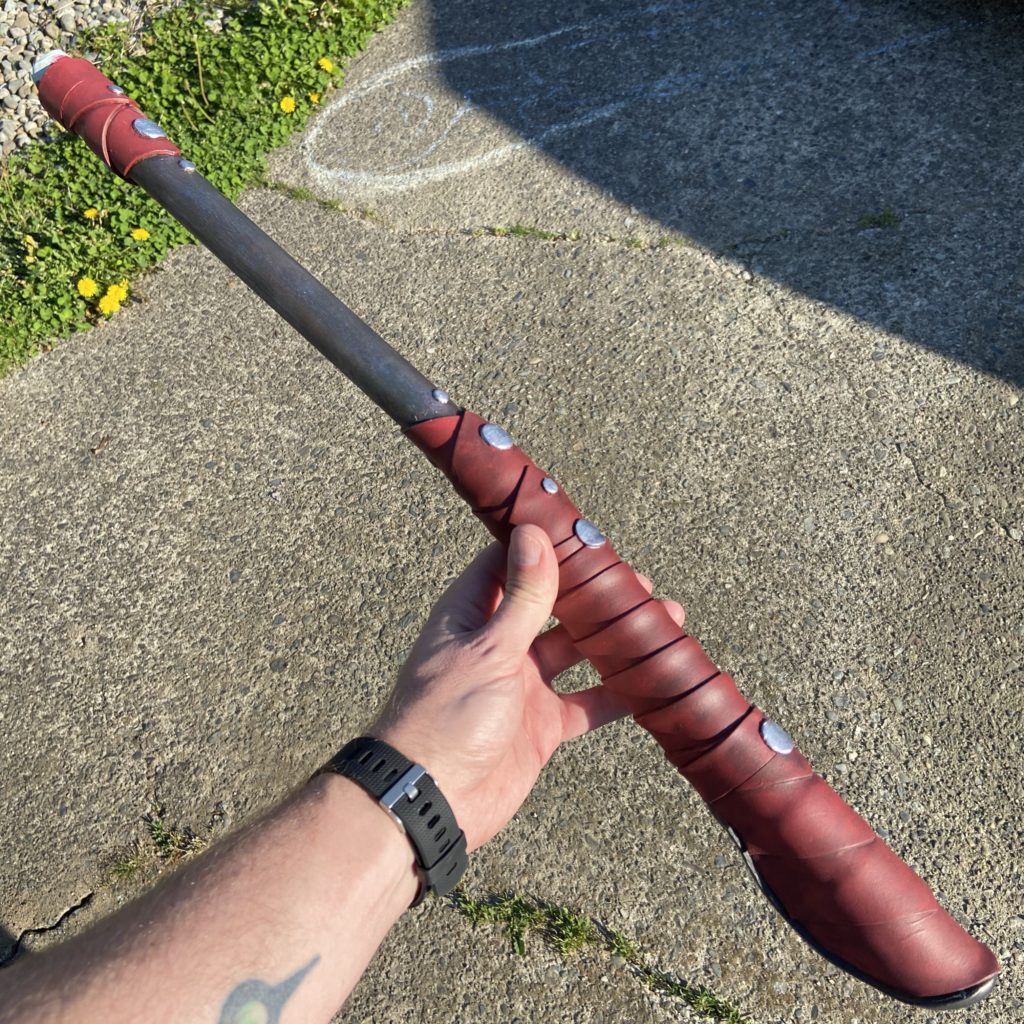
Ethyl got her first breath of fresh air.
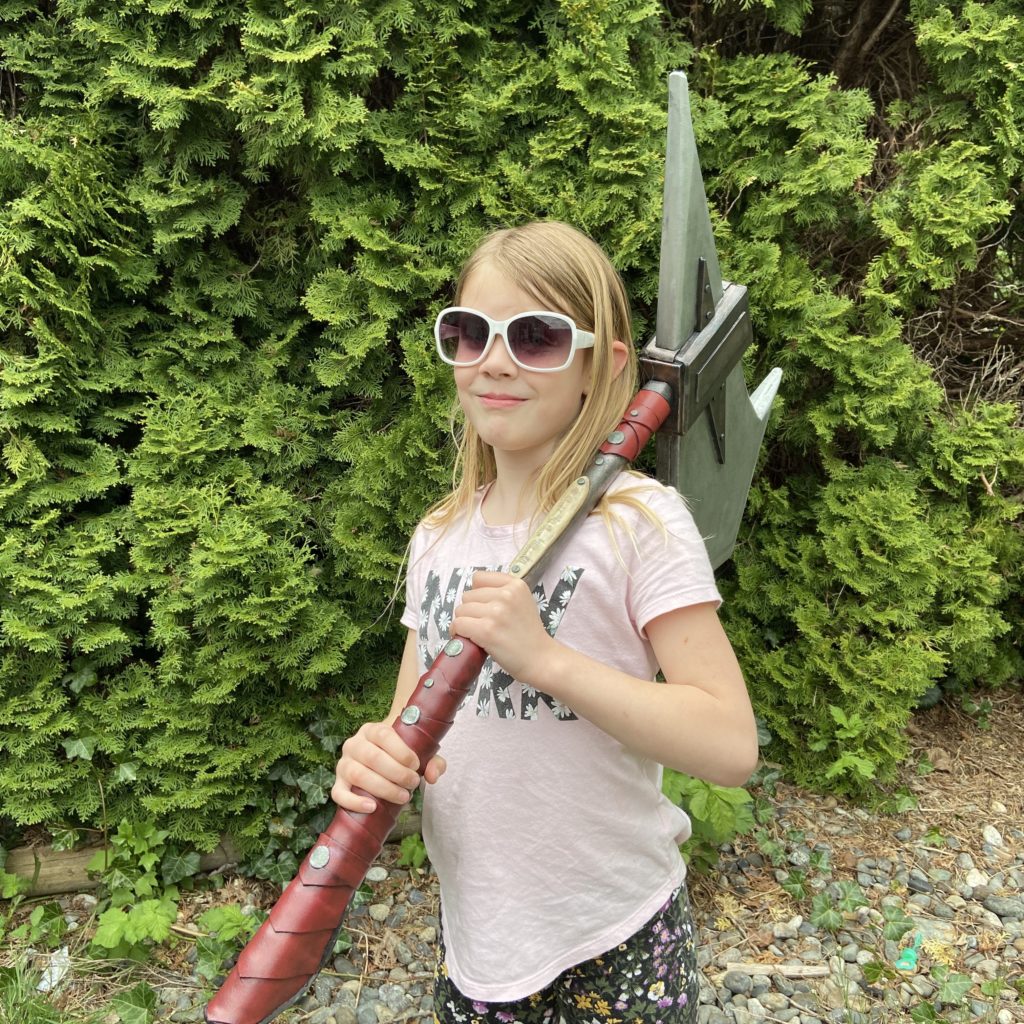
And then Monster Truck took Ethyl for a spin!
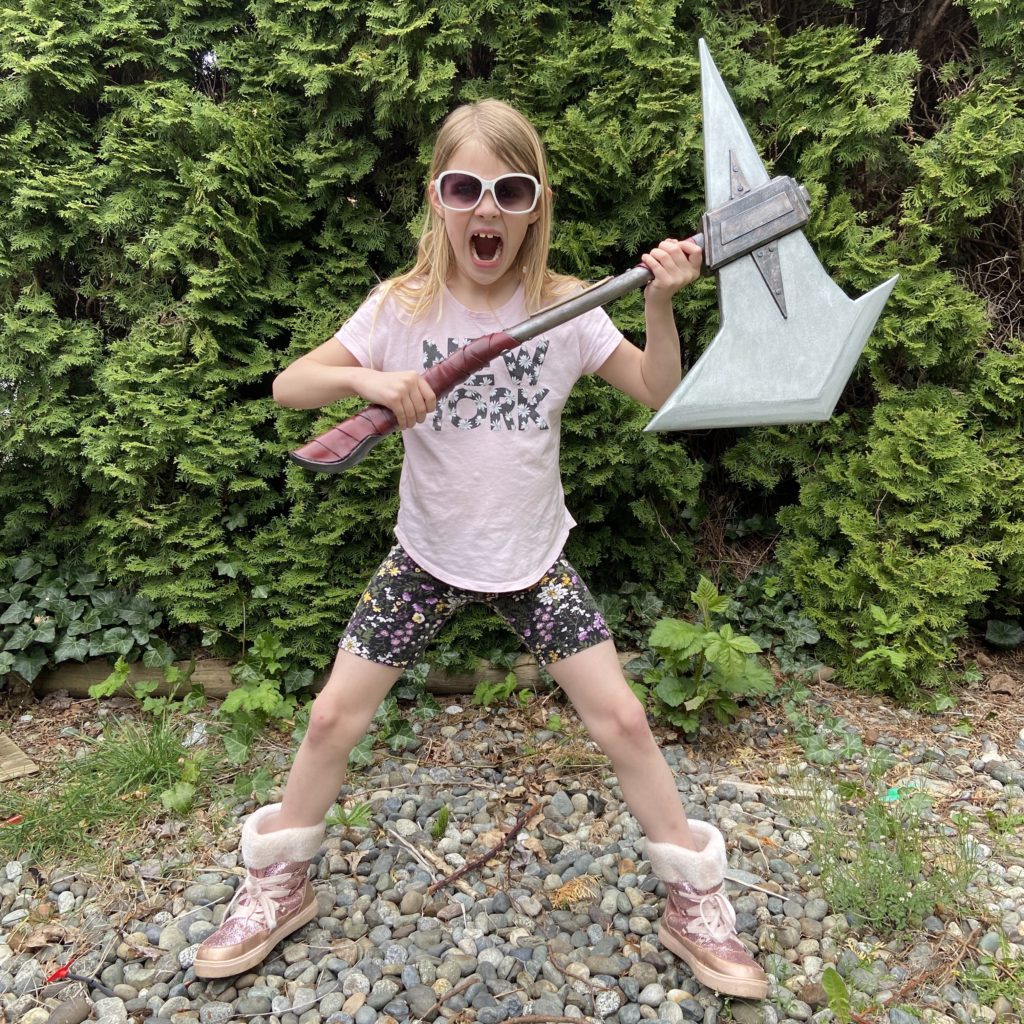
Practical and stylish too!
If I did this again I would do a couple things different. I’d design it completely first, build the blade in sections to make sanding, shaping and painting easier and use better paints. I am really happy with every part, but the steel blade section is something I think I need to possibly redo one day.
And that’s how you kill time during pandemic isolation.